Adding a message to your workflow
Workflows allow you to send messages to users across your apps—including mobile and web apps. Before we dive into how you can add a message to your Workflow, it's worth explaining the logic of our cross-messaging platform.
In this topic:
Messaging across apps
If your app group (audience) includes users from both web apps and mobile apps, we'll make sure to message your users wherever we most recently saw them. Specifically, users will receive the message associated with the most recent opted-in device and with the most recent app used (session) irrespective of events defined in the workflow.
Example: If a user qualified for the workflow by performing the events as defined in the event criteria AND most recently had a session on the iOS app on mobile, we would try and send an app push notification to the mobile device. However, if there was not a push token associated with the device, we would send to the next device with a push token, then the next app.
Browser variances
An user can perform an event in any browser but can only receive the push notification on the browser that was used to opt-in to web push notifications.
For example, a user who’s opted into web push on Chrome could perform the add to cart event on Firefox and still receive a push notification. Likewise, a user who’s opted into iOS app notifications and web app notifications will receive the message on the most recent app used.
Now that you understand the basics, let's dive into adding a message to our workflow.
Push message builder
A push message allows you to build a push message using the typical message functions , such as title, deep link, key/value pairs, and creatives.
To add a push message to your workflow:
- Go to Marketing in the left pane and select Workflows.
-
Select your workflow from the Workflow table.
In the Message Builder, select the
 (plus) button, and then select Send push message.
 -
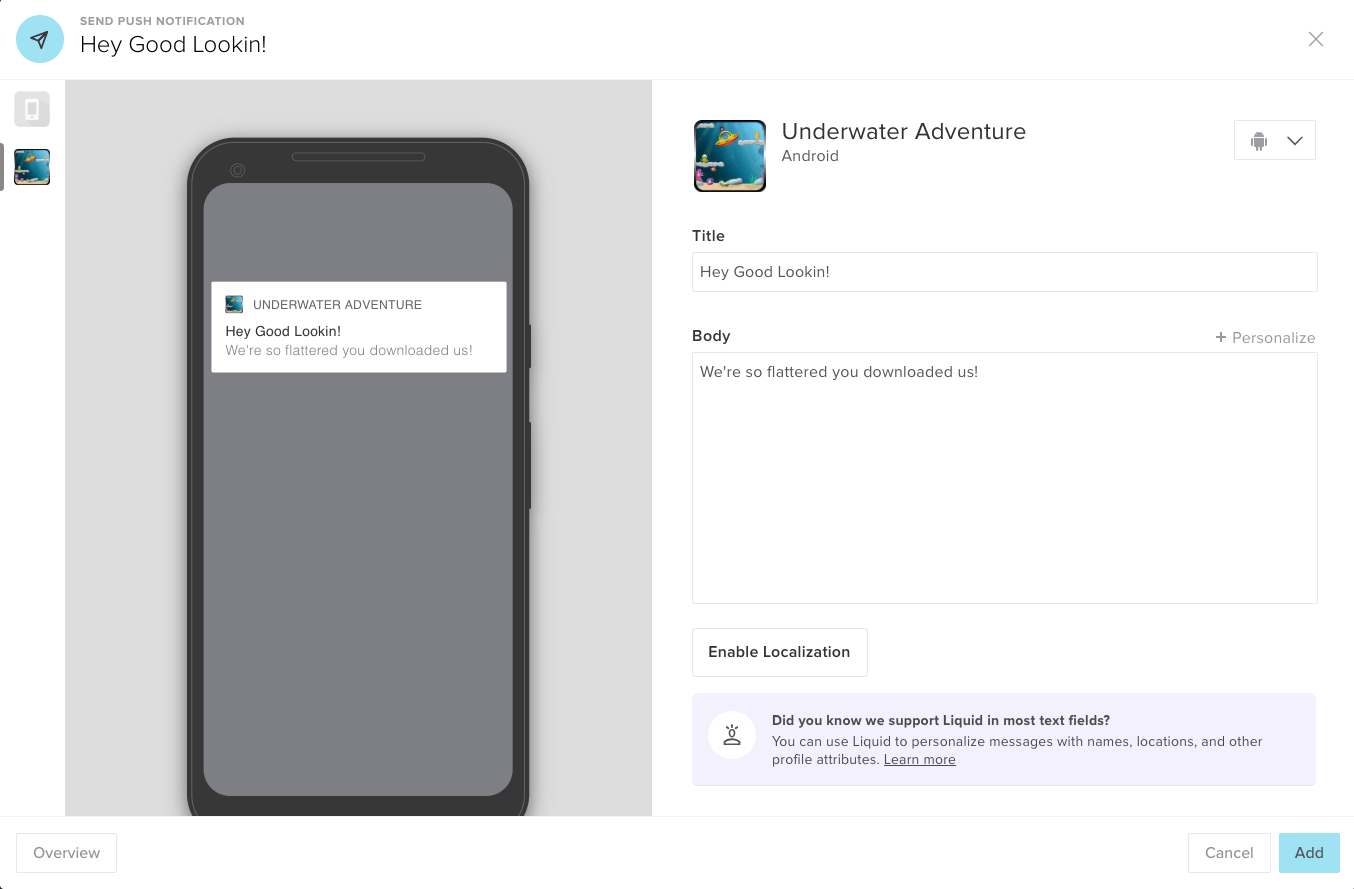
At the top of the page, enter a descriptive name.
We'll use this name to identify the message's "push sent" event in the Events dashboard. For more information, see Message title.
-
You can also customize messages by application:
- Select the application icon (iOS, Android, Web) on the left.
- Select the app from the drop-down list on the right.
For more information, see Message body.
Note: Keep in mind, your text does not copy between apps—so you'll need to update the copy on each app individually.
-
To set the default for your messages, select Enable Localization, and then select the default language to use.
For more information, see Localization.
-
To enhance the appearance of your message, use rich media:
- Select Standard Media to add images, GIFs, video or audio files to your message, and then paste the URL in the JPG, GIF, PNG field.
-
Select Dynamic Media to use Movable Ink Creative Tag.
For more information, see Rich media.
- Be sure to preview your message before adding it to the workflow. For more information, see Message preview and Live preview.
-
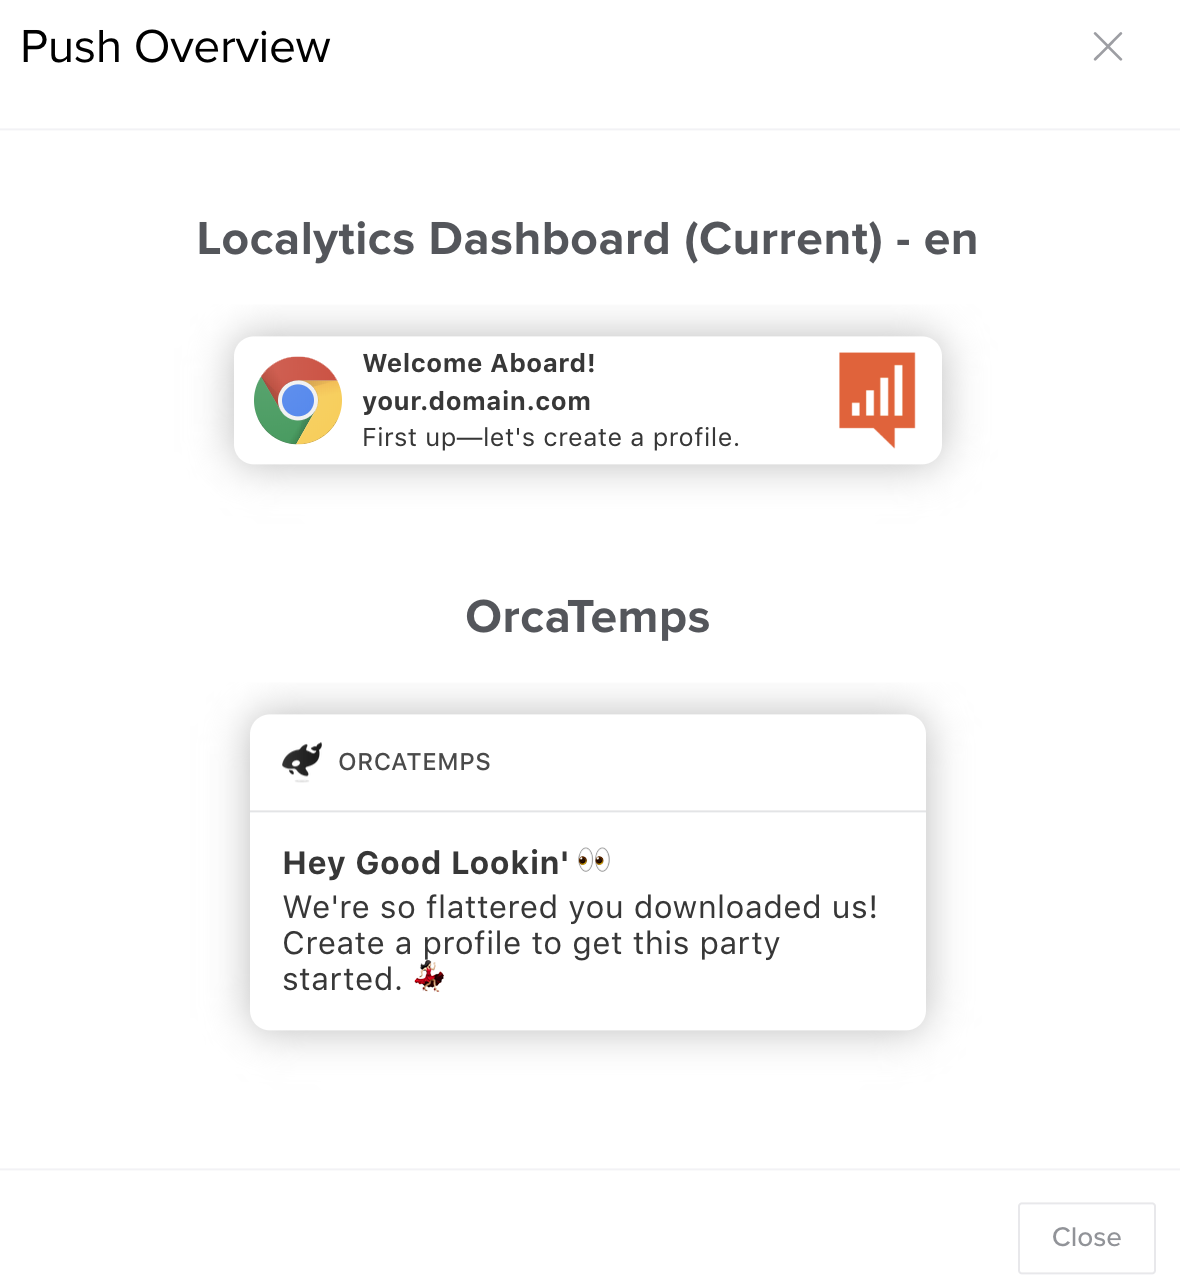
Select Overview to review all of your messages. For more information, see Message overview.
-
When you are satisfied with your push message and have checked it between all of your grouped apps, select Add to add it to the workflow.
Message title
When you add a title to the header of the message, the title will appear in a bold text above the message. The title is an optional piece of copy for your push message—so feel free to skip it if you’d prefer.
Message body
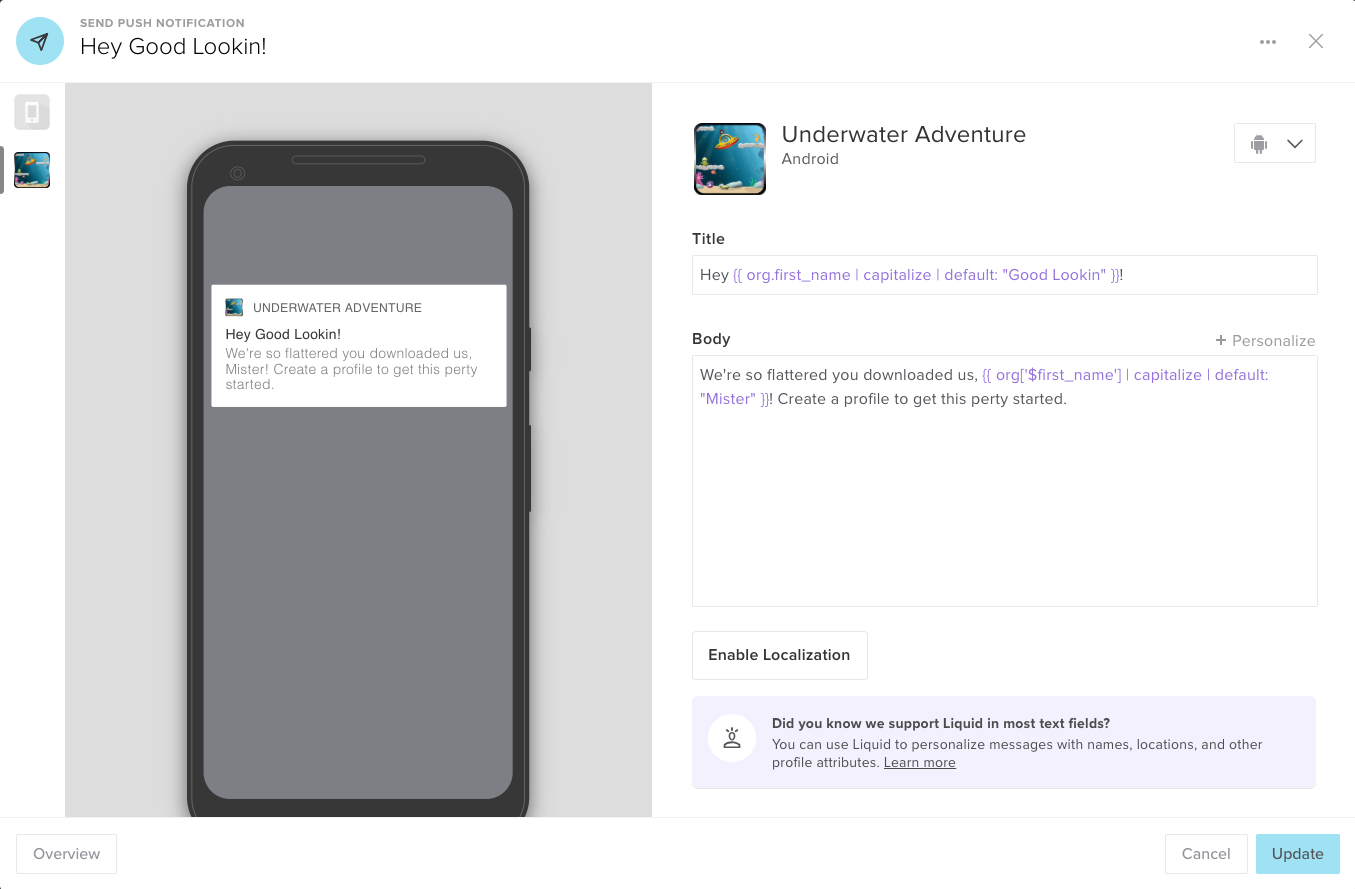
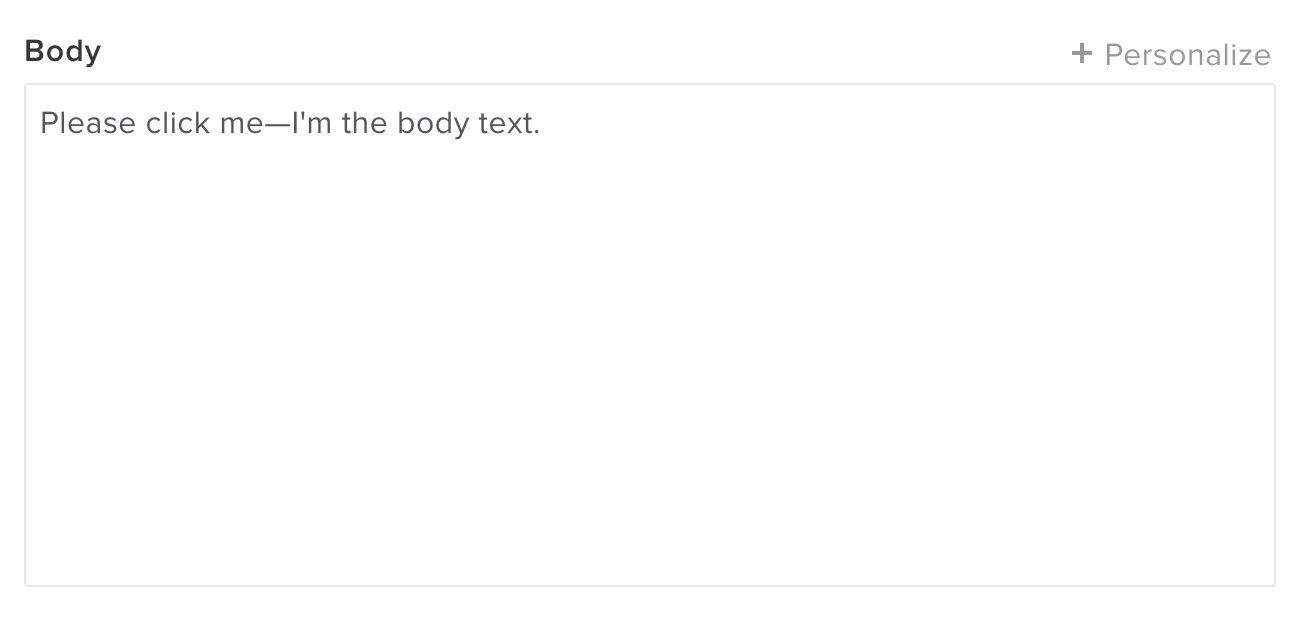
Finally, it’s time for the most important part of your message—the message body! The message body is the only copy that is mandatory.
To personalize the title, body, and rich media, embed using Liquid templating (sometimes called dynamic content):
-
Place your cursor in the appropriate field and select +Personalize above the Body field.
For more information, see Using Liquid.
We do our best to show you an example of what the message will look like. It’s important to note that because each phone and OS handle the content differently, there is no official character limit for the message body.
Localization
Localization allows you to create unique messages to customers based on their default language (set within the device).
To enable localization:
-
Select Enable Localization .
-
Choose the default language.
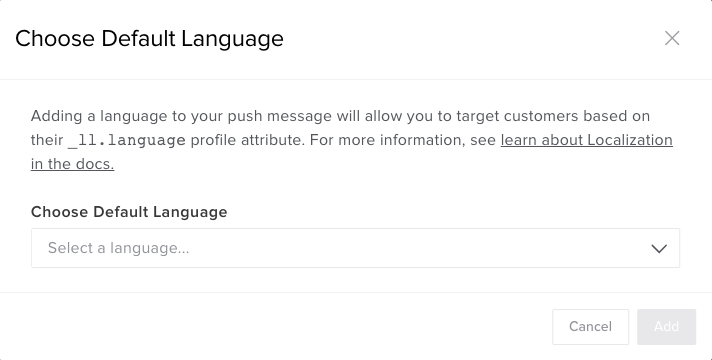
This will be the message sent to users when their preferred language message isn't available. For example, if you have users whose devices are set to French, but no French text, they'll receive the default copy.
For help on selecting a default language, Localytics pulls up quick metrics to tell you just how many users you have associated with each language:
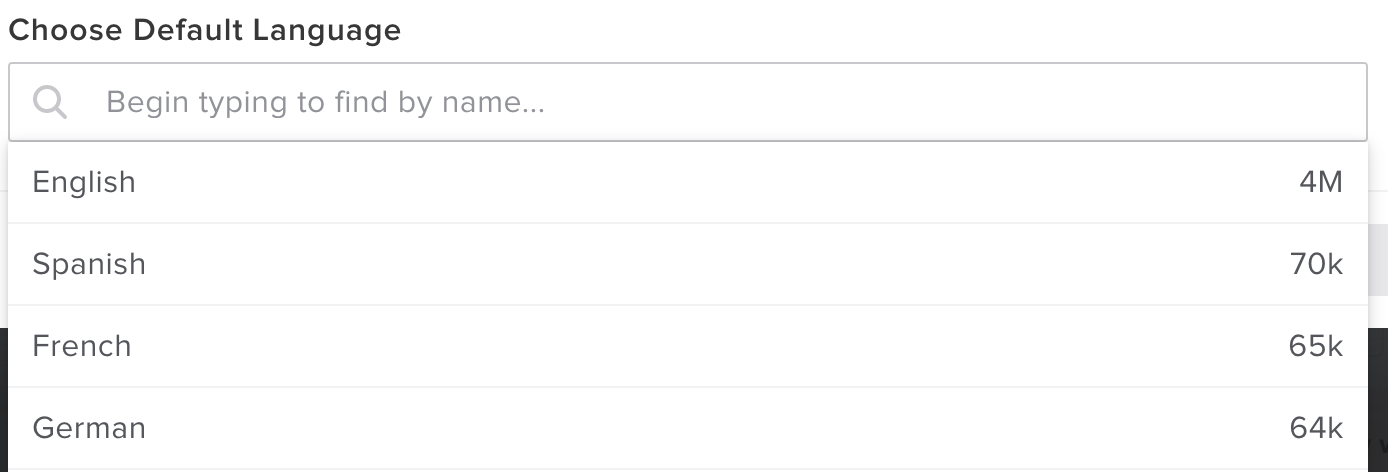
-
After you've set the default language, you can continue adding languages using the drop-down menu.
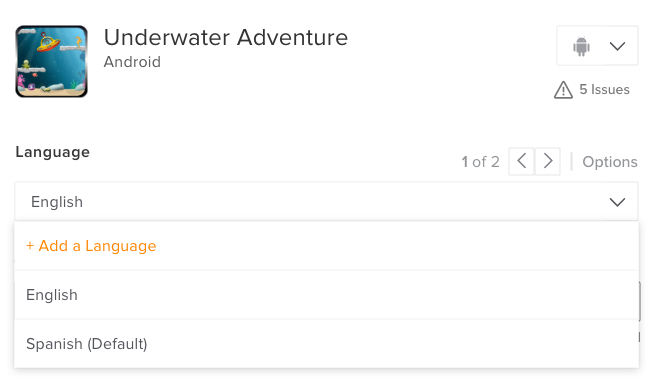
-
Toggle between languages/copy using the arrows, or select the language from the drop-down menu.
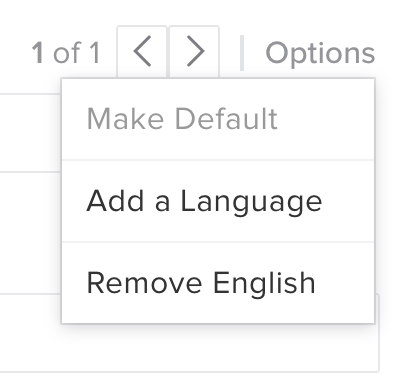
- To remove a language, select the Options button, and then select Remove Language.
Note: Remember you must create new messages for each language. Copy is not translated or copied between messages. This provides the most flexibility in crafting unique and personalized messages across applications.
Rich media
Spice up your push message by adding rich push elements! For devices and SDK versions that support rich media, you can either embed standard rich media content or personalize rich media content dynamically with Movable Ink.
Standard media
Standard Media Rich Push messages include any of the following:
- Images
- GIFs (iOS only)
- Video (iOS only)
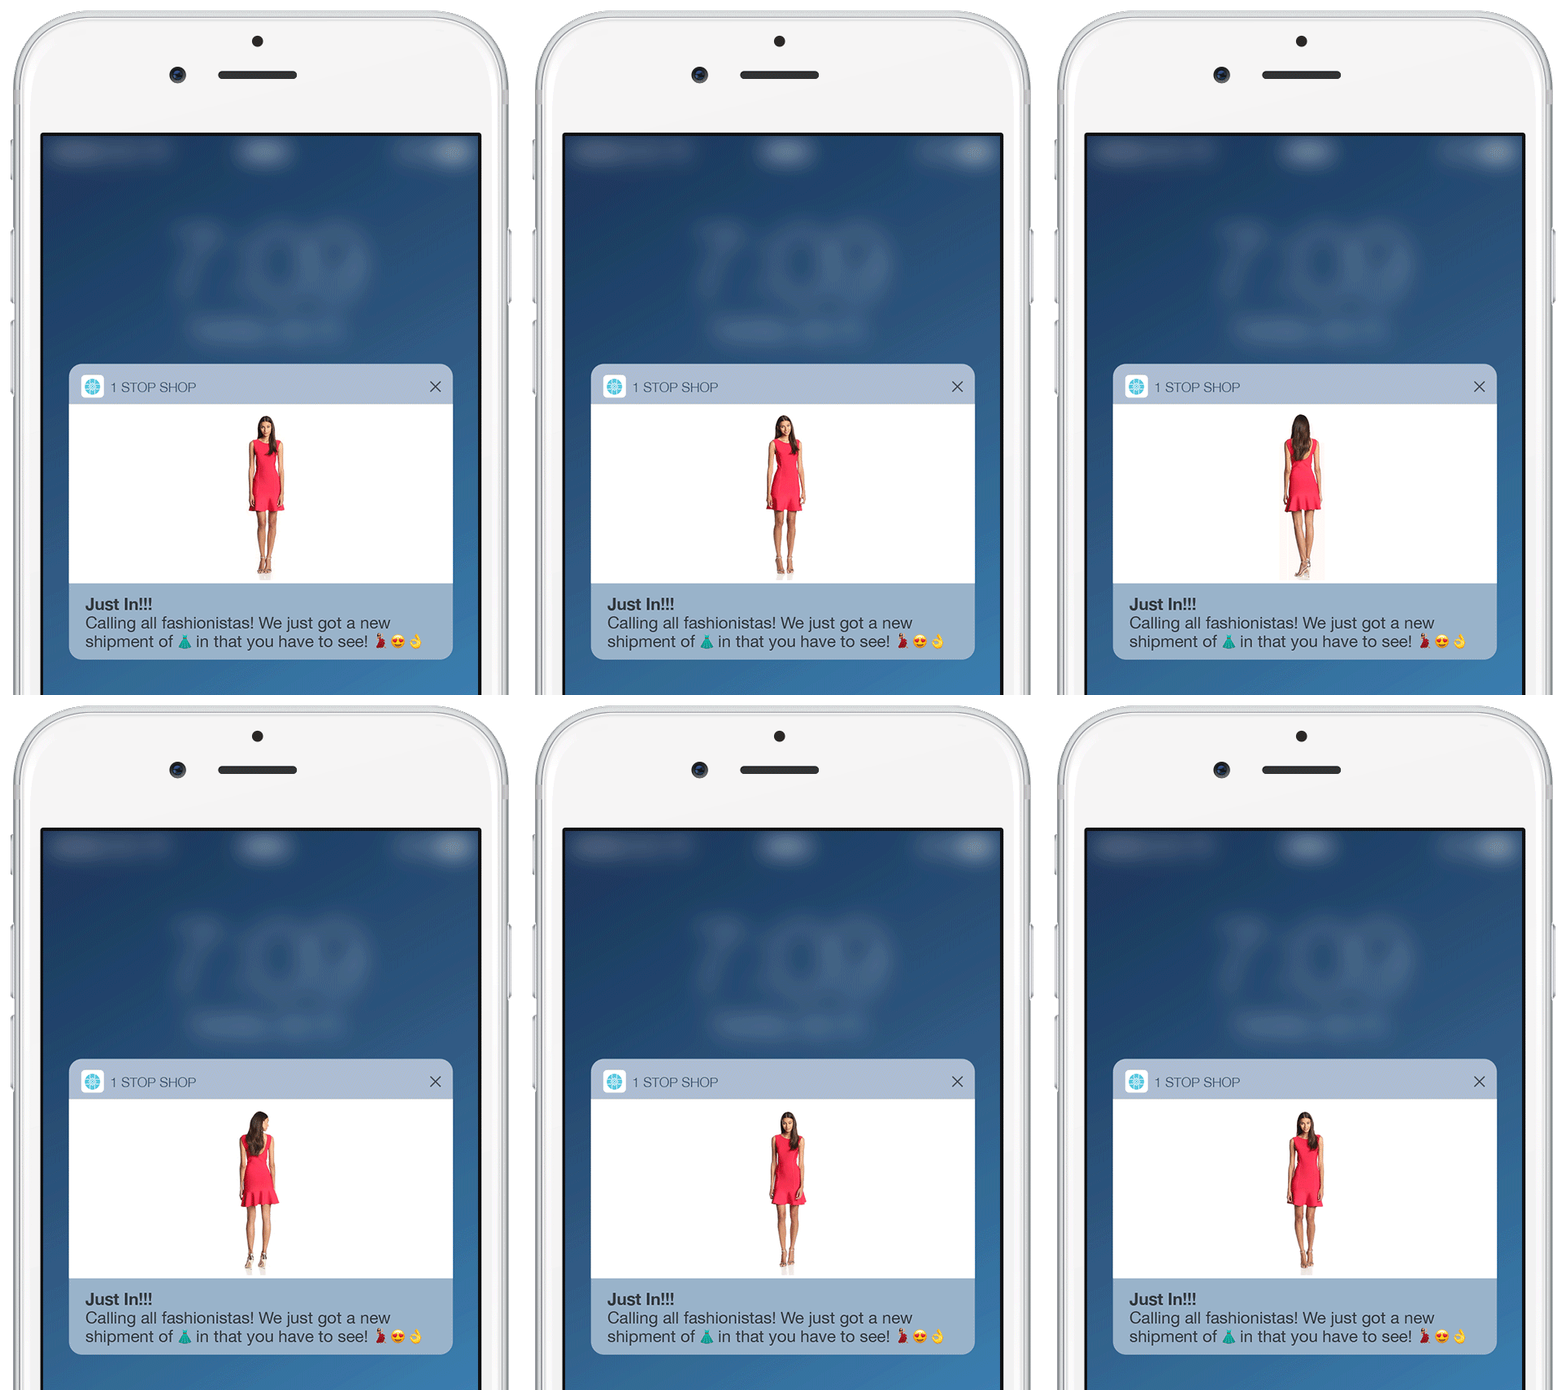
Localytics doesn't cover image hosting, so you’ll need to upload the image externally. For hosting content, we recommend services like Cloudinary or Amazon S3. Keep in mind HTTPS is a hard requirement for image URLs when targeting iOS devices.
The supported file types are:
- JPEG
- GIF
- PNG
- Mp3
- Mp4
Like with the message body, you can also use Liquid to serve different rich elements depending on the user’s profile attributes. For more information, see Using Liquid.
While there are no file size limits for Android, we still recommend adhering to the limitations for iOS, as shown in this table. Keep in mind, these are hard limits for iOS.
| File type |
Size limit |
|---|---|
| Image | 10MB |
| Animation |
10MB |
| Movie | 50MB |
| Audio | 5MB |
You should also adhere to the following image dimension limits:
- iOS: Maximum possible dimensions are 1,038 pixels x 1,038 pixels
- Android: Keep images between a minimum of 800 and maximum of 1,038 pixels
Dynamic media
Dynamic Media supports the Movable Ink Creative Tag.
To find the Creative Tag:
- Go to the Movable Ink website and log in to your account.
- Select the appropriate campaign from your Campaigns List.
- Navigate to the Code tab.
- From the sub-navigation, select In-App Messaging.
- Copy the Creative Tag.
-
Under Rich Media Embed, switch on your message builder.
- With the Dynamic Media highlighted, paste the URL and specify the file type.
Message preview
The left side of your push message builder displays a preview of what your message looks like as you build it. It’s important to note that this is just a preview. Depending on the phone type and style your message will translate differently (that is, an iPhone plus might look different from a regular iPhone).
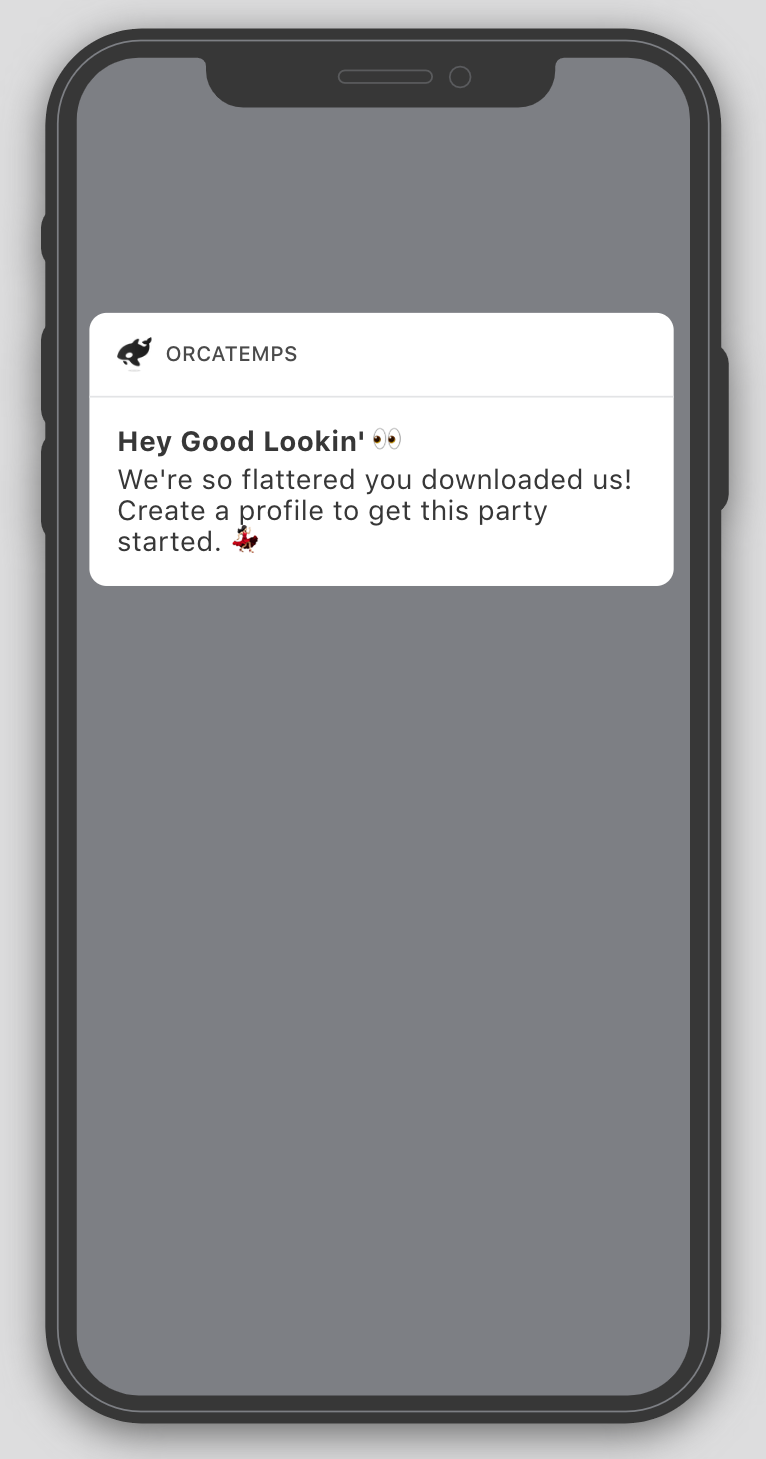
Tip: To simulate how your message appears to a customer, point to the Message Preview section and, if available for your device, select the Simulate Customer slider.

Live preview
If your App Group includes a web app, you'll also see a Live Preview option in the lower-left corner, which allows you to send a quick web push notification to your browser to test the push before you set it live.
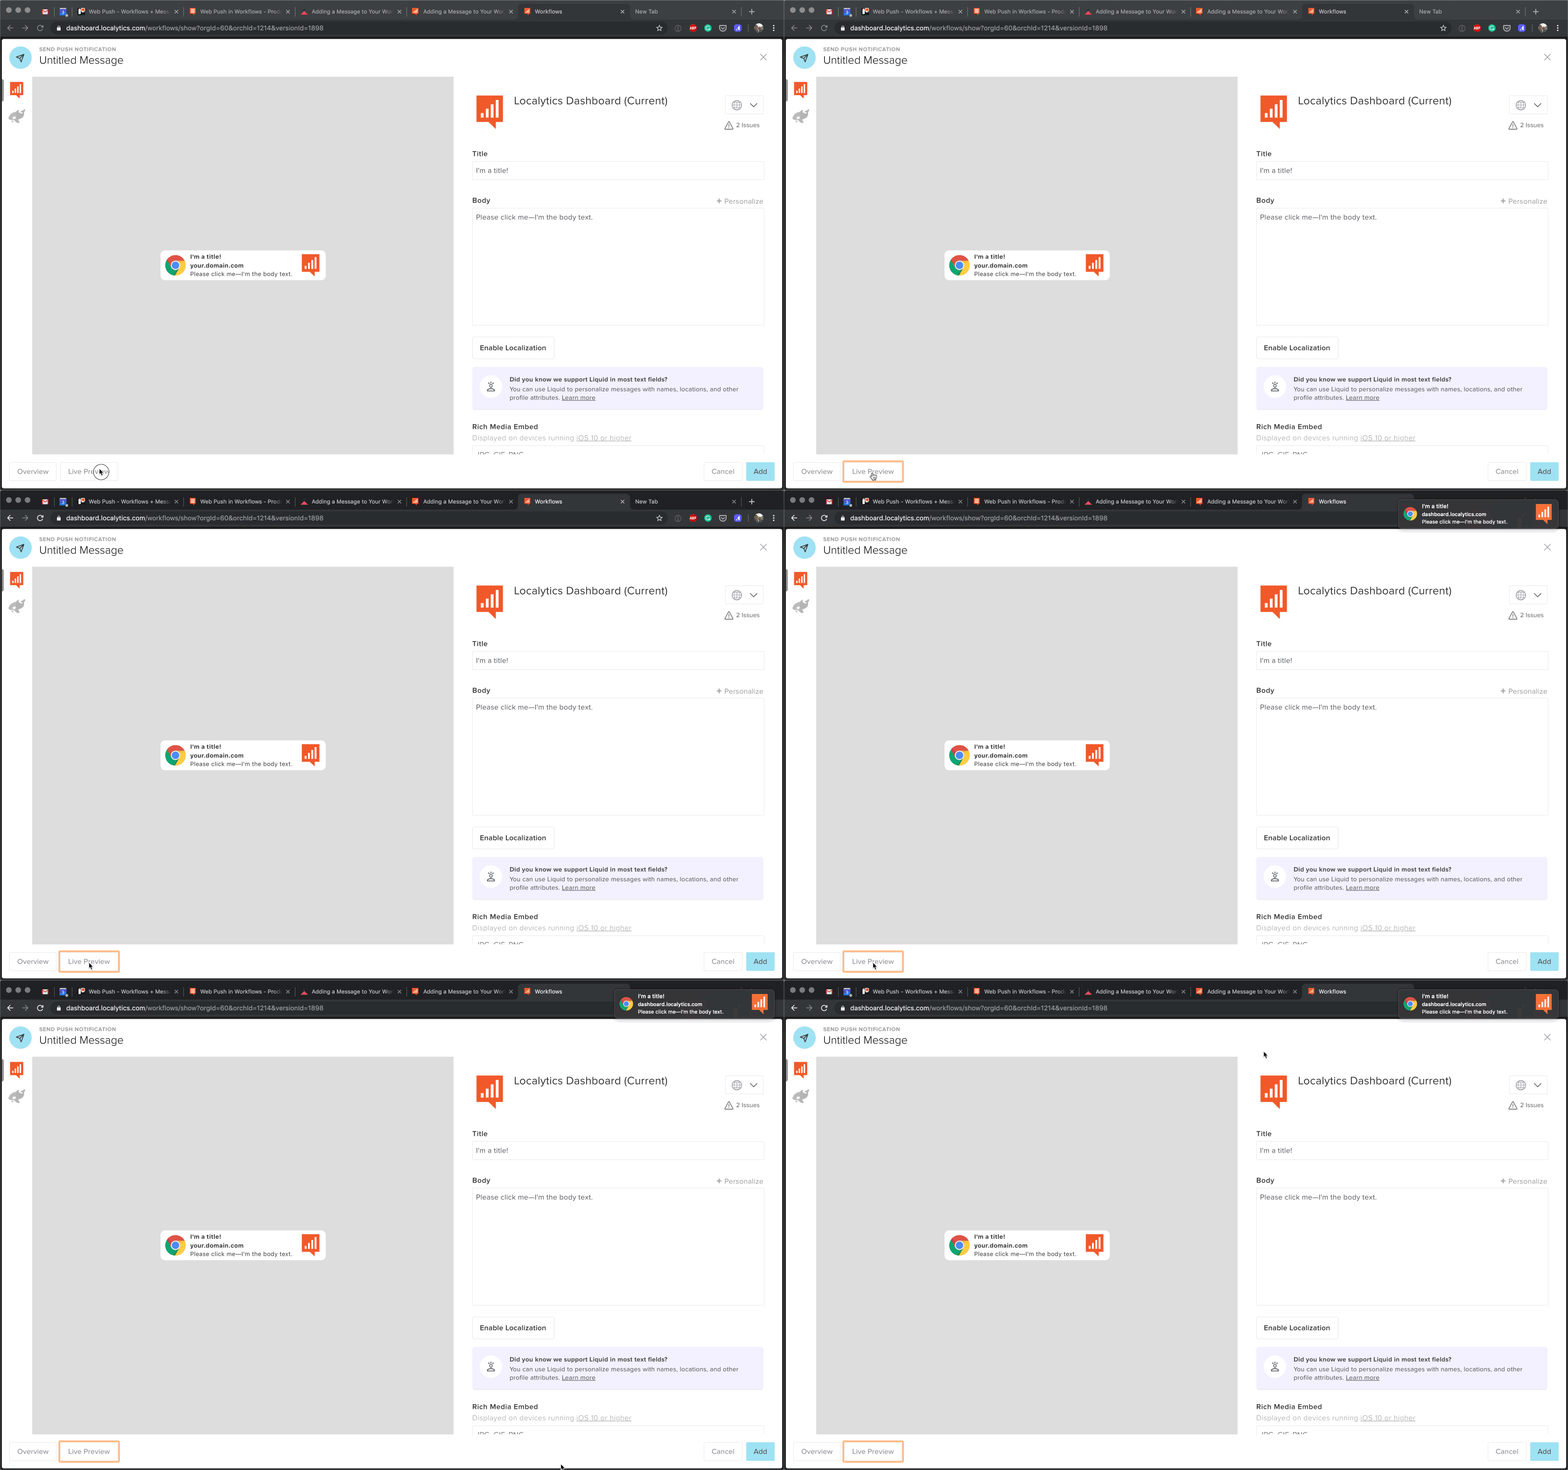
For more on enabling live preview, see Testing a web push.
Message overview
You can also access an overview of your messages. This is to provide an easy view of all of your messages, especially if you are creating and managing multiple messages within the Message Builder.
-
In the lower-left corner, select Overview.
